
Just like you wouldn't replace your entire car for a simple flat tire, why discard your beloved shoes when faced with the easily fixable problem of delamination?
Before we delve into the solution, it's crucial to recognize that delamination does not warrant shoe replacement. By addressing this issue head-on, you can save time, money, and unnecessary waste, all while prolonging the life of your favorite footwear.
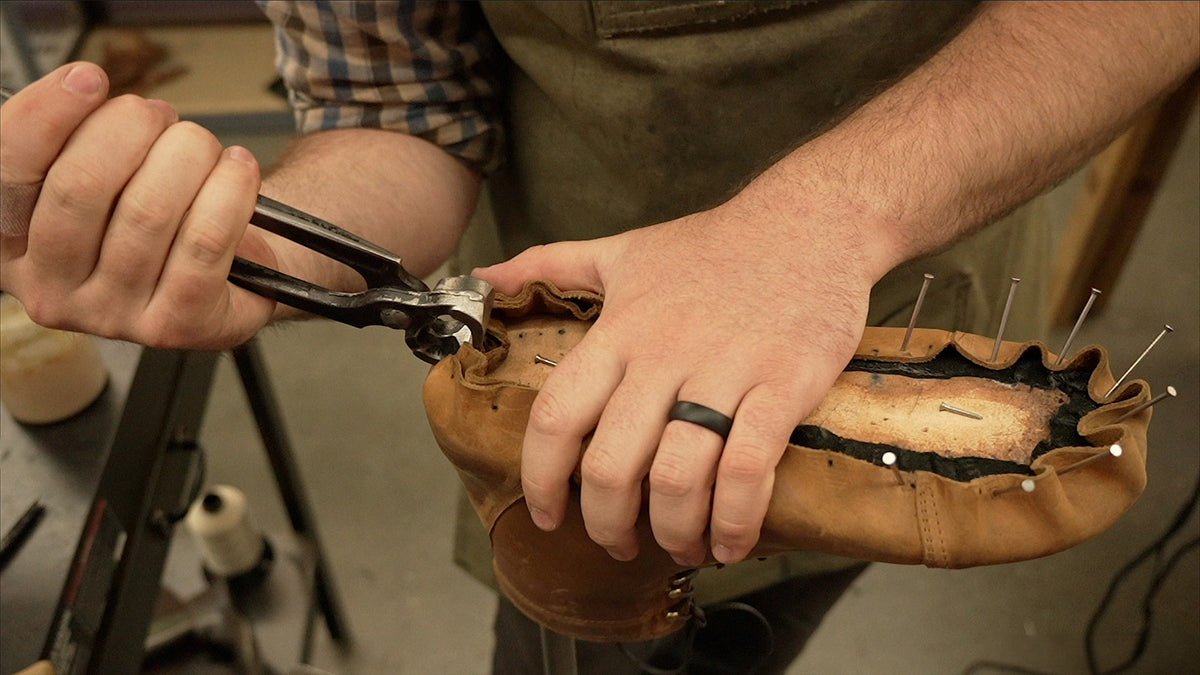
Delamination refers to the separation of the outsole from the shoe's upper material. While more prevalent in resoleable shoes like ours due to their design, fear not, as this issue can be effortlessly resolved using the right materials and techniques. By following this comprehensive guide, you will triumph over delamination, restoring your shoes to their former glory in no time.
If you don't feel comfortable trying to repair your shoes, no worries, we'd be happy to help.
Reach out to our customer service and we'll take care of you.
MATERIALS NEEDED:
STEP 1: CLEAN
Before beginning the repair process, ensure that the affected area is clean and free from debris or dirt. Use a clean cloth or brush to remove any particles that might hinder proper adhesion.
STEP 2: APPLY ADHESIVE
Apply a thin, even layer of adhesive to both the delaminated outsole and the corresponding area on the upper. Be careful not to use an excessive amount of adhesive, as it can lead to messy results and compromise the integrity of the bond.
STEP 3: PRESS & CLAMP
Immediately after applying the adhesive, bring the outsole and upper back together, aligning them properly. Apply ample force to ensure a strong bond between the two components. You can achieve this by using clamps or placing heavy objects on top of the shoe. Make sure the pressure is evenly distributed and covers the entire delaminated area. Consistent pressure is key to a lasting repair.
STEP 4: WAIT
Refer to the adhesive manufacturer's instructions for the recommended drying time. It is crucial to allow the adhesive to fully cure and bond the outsole and upper together. Avoid using or putting stress on the shoe during this drying time to ensure a successful repair and prevent re-delamination.
STEP 5: INSPECT
After the recommended drying time has elapsed, carefully remove the clamps or heavy objects. Gently inspect the repaired area to ensure that the outsole and upper are securely bonded. Test the repair by flexing the shoe and walking around to assess its stability and confirm the strength of the adhesion. This final check ensures your shoes are ready for continued wear.
MAINTENANCE:
Fixing delamination in shoes is a manageable task that can be completed with the right materials and techniques. By applying adhesive, clamping, and allowing sufficient drying time, you can successfully restore the bond between the outsole and upper, overcoming the annoyance of delamination. Remember, this issue is more common in resoleable shoes such as ours due to their design, but with proper repair, you can extend the life of your beloved footwear and continue to enjoy their comfort and style. Our commitment to durable, repairable footwear means less waste and more value for you.


